

Colors
-White (Mr.Color White mixed with Mr.color Flat white)
-Black (Mr. Color Metallic black)
-Dark Gray (Mr.Color Metal Siver mixed with Mr.Color Metallic black and Mr.Color Flat white)
-Blue (two layer, first layer with Mr.Color Blue mixed with Mr.Color Flat White and Mr.Color black, second layer with Mr.Color cobalt blue)
-Light Blue ( Mr.Color Cobalt Blue mixed with Mr.Color Flat White)
-Light Green (Mr. Color Green mixed with Mr. Color Flat White)
- Red (Mr.Color Metallic red mixed Mr.Color red)
-Silver (Mr.Color Metal silver chrome)
-Gold (Mr.Color Gold)
-Base (Mr.Surfacer 1000)
-Added pla-plate in various area
-Added panel line in various area
-Added M.S.G part in various area
-Armor trimming
-Armor Drilling
-Water Slide Decal (finish with Mr. Mark Softer and Mr. Mark Setter)
-Panel line with Uni pin Mitsubishi pen 0.2
Since most of the original decal was ripped off from this old kit, i have to replace all those decal by water slide decal. It can be said my first kit that fully applied with water decal using Mr. Mark Softer and Mr.Mark Setter. What i learn is the most important thing about applying the water decal is patience, must wait until the first water decal dry before apply another one on the same part or area. ( i mess up and destroy lot of those water slide decal).
The inner frame color was similar to the RG Aile Strike AIF which is going to be my story for this kit. (How should i start it?)
"After the final war, ZGMF-X42S codename Destiny was heavily damaged by ZGMF-X19A Infinite Justice with most of the part were destroy except the main body which is the upper torso. The damaged Destiny was send to Orb after the peace treaty reached from all side in between ZAFT, Earth Alliance and Orb union. With the original MS capability, Advance Inner Frame which develop in the AIF Aile Strike was use adapt into Destiny for re-building the entire MS to increase the capabilities during the operation on Earth which affected by gravity. And this become the second ZAFT MS equip with both Ultracompact Hyper Deuterion Nuclear Reactor and Advance Inner Frame."
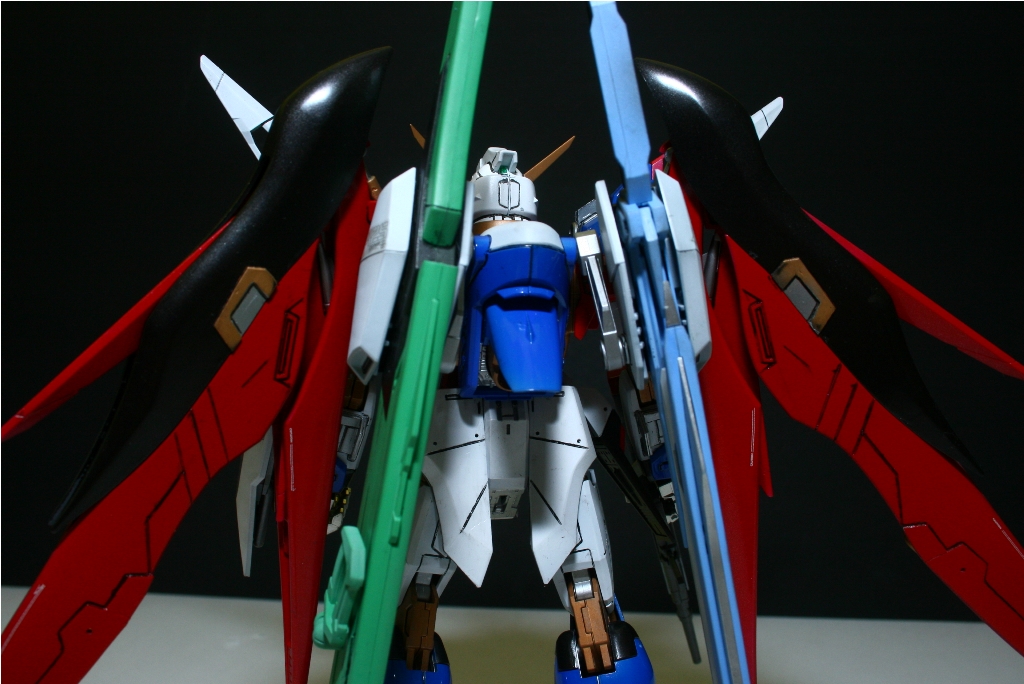
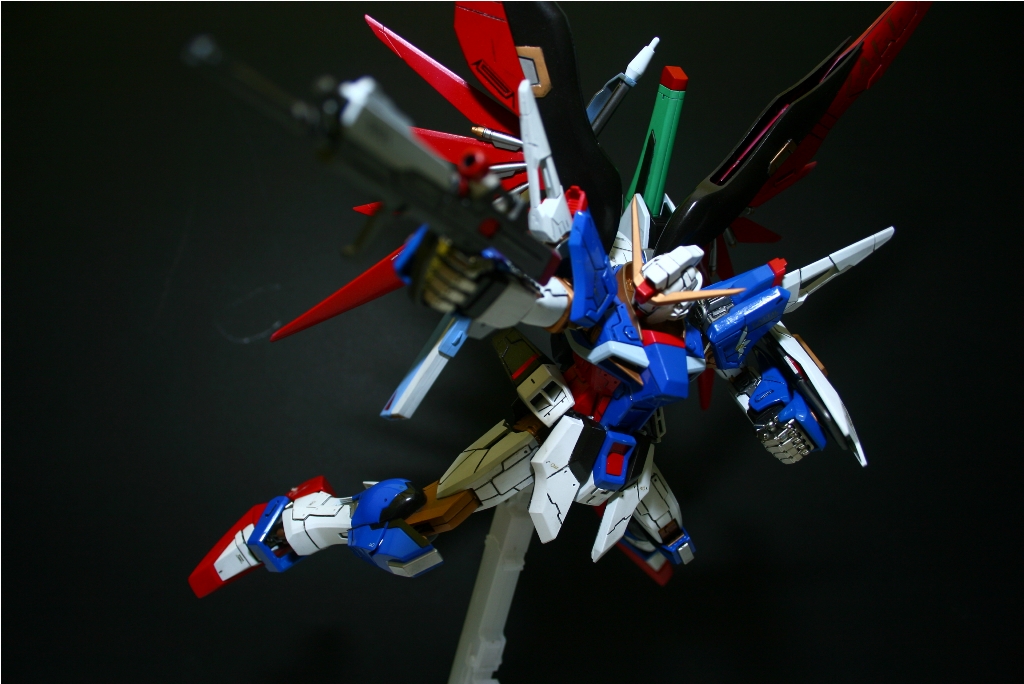
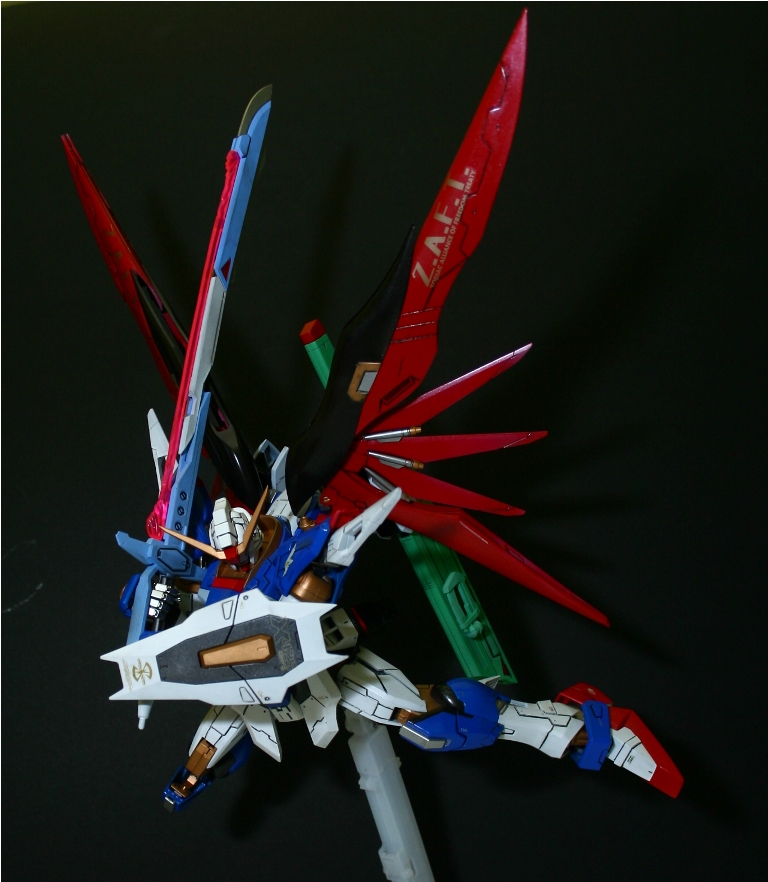
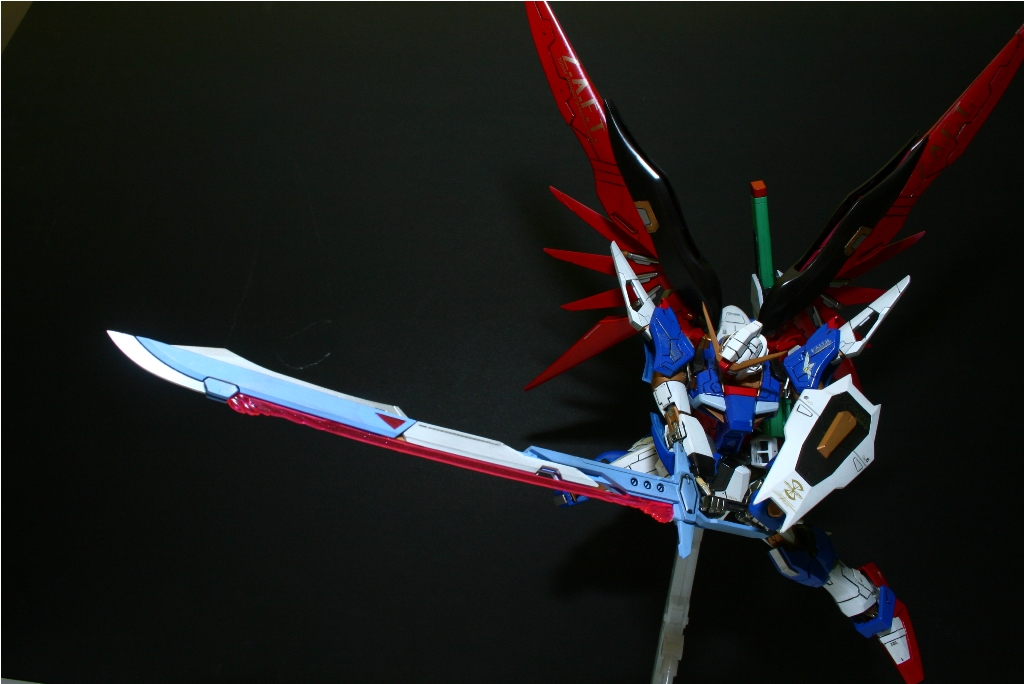
Enough for words and its time for photos, enjoy.


I haven't decide as i still got some MG to build while my MG Sazabi is waiting for its turn.
Report end
3 comments:
HAHA... you take time but you’re improving your skills... this is a great work ! the panel lines are clear and neat and while it preserves most of its originality, the details you added give it a slightly new personality, i like it... also your pictures looks better than before (except for the "gaps" in the background LOL)... something good is happening here =)
Looking good! Simple yet effective.
Chris: Thanks man.. the photo station really killing me... i guess i have to get a bigger cardboard next time..
Tom: Thanks..
Post a Comment