finally.. finish the pre-assemble process.. had been disappear for 5 days here.. reason?.. working.. then compiling this WIP.. i change the my WIP style.. compile all the WIP of head, arms, legs, chest and backpack on one WIP.. i feel that different post for those WIP is a bit boring right.. haha..
i remember the first time i saw this kit was back in my primary school.. not sure is on 2000 or sometime arounr 2002.. saw it in a poster where there are a lot of UC gundam inside.. bulky gundam always caught my attention that time.. especially GP02.. never thought i will get it today.. well.. i get this now is because i want to complete the Gundam ZZ MS team mobile suit.. so.. one more MS to go.. the MG Hyakushiki..
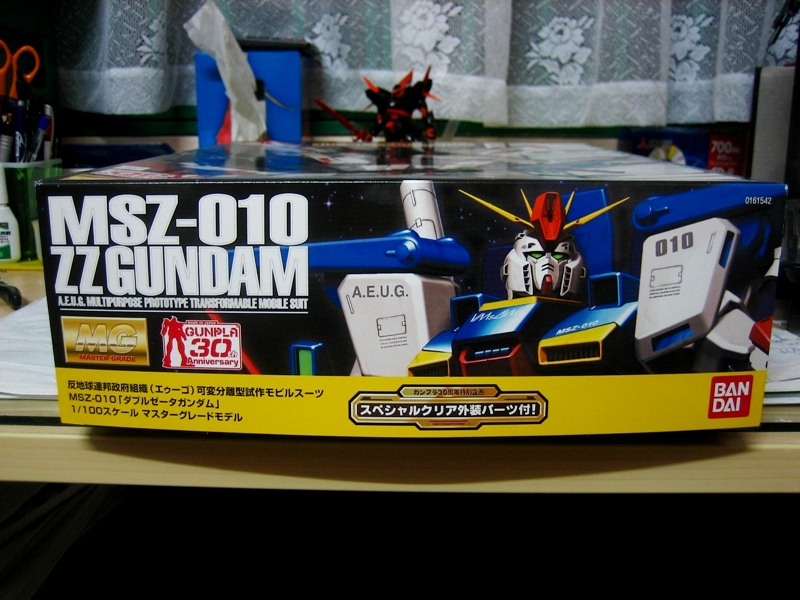
first.. start with the boxart..
simple..
old style MG.. will come with this cover as well..
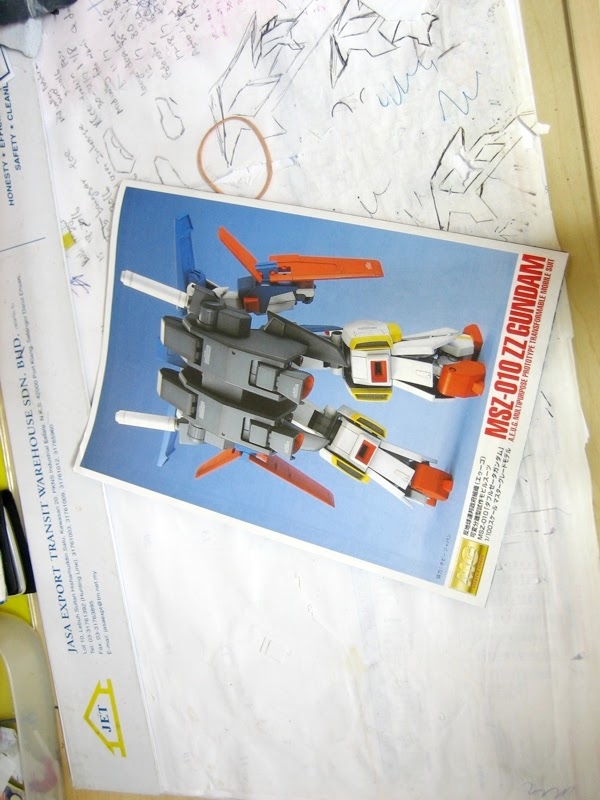
well.. not much decals for this kit..
my favorite page from MG kit model all the time..
total of 21 runners include 2 PC runners and the additional clear color part runner.. 2 PC runners.. damn.. this kit use a lot of polycap joint..
and start with head unit...
well.. the head is pretty simple.. but as from the manual.. after applying the foil sticker on the eyes.. it won't look that fierce anymore.. been studying the shape and proportion of keita's ZZ head.. i know i can't do that kind mod now.. but i'm still studying how he mod till the head look more fierce..
i forget to take a photo of the arms unit separately.. these are the major part of shoulders and upper arm.. and also the inner frame of the arms which is a booster units.. from here i can see that painting the arms unit is quite easy as i don't have to paint all the parts individually..
WTF ing wrong with the uploader.. i got all my photos rotate nicely and it keep on showing this error.. FUCK IT..
leg units.. one thing i hate a lot is this assemble process for the leg units require screw for the sliding mechanism.. why the hell it need screw for it?.. why can't replace it with plastic?.. and the stupid screw is damn fragile.. the top part of the screw which connect to the screw driver that come in cross shape.. always turn to other shape after few time tighten the screw and no other screw driver can use on it later.. stupid screws..
the booster should come in red color.. hope this is not the part that hard to paint.. masking tape help me..
no inner frame for the tights?..
the feet are quite complicated and lots of part..
the tight come in two part where the top part use for joint and seeing this type of pelvis joint.. i thought it will be great but not anymore after i know it just another ball joint where the polycap stay deep center in the tight..
the chest unit was the best part.. simple and easy but not fragile like the MG Zeta.. all the joints are solid enough to hold it firmly.. and the most fragile part from MG Zeta body which was the abdomen.. is now replacing with the 'fake' core fighter.. fake? i will explain it later..
waist unit..
you have no idea that how complicated the tail will be to connect the backpack..
this is the real core fighter where it can transform from core fighter to the main core or abdomen of the gundam.. but the problem is.. it can't actually store it in the gundam when the gundam transform into MS mode..
the booster for the core fighter..
it will only use for display and connect to the legs waist unit when ZZ in MA mode..
and this is the fake core fighter..
it can only come in one mode which become the abdomen or the main core of ZZ.. why this fake core created? i guess its because of the real core fighter cant fit into the chest.. that is the flaw of the core fighter.. damn.. not like the MG Impulse.. well.. the design and technology on that time is not that advance i guess..
so.. the comparison of the fake core fighter and the real core fighter.. i think this kit is require another core fighter as what it show in the anime.. too bad huh..
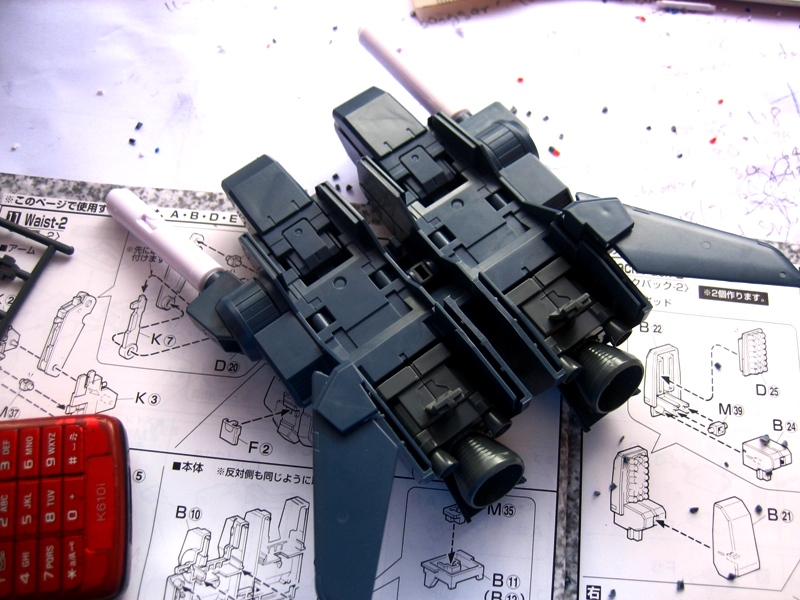
booster for the backpack..
the back pack is simple and solid.. the color separation? not mush.. so.. painting the backpack can be quite easy too if you are not planning to paint the inner frame..
these are the largest beam saber i see ever.. come with some lock that can attach to the palms..
back missile pod.. i saw a lot of pro modeler mod these missile pod become longer.. well.. make it look like the additional part of Arios.. the GNHW Arios backpack.. i still have no idea how to do it so i'm not planning to do anything about it..
so.. the complete backpack.. looks like a ladybird? or a tortoise?
the shields.. another headache parts to assemble.. and the color.. rough plastic color.. OMG..
i always think that how does the pilot get out from the cockpit in beam rifle before the MG ZZ transform.. i feel why the cockpit of the chest unit in MA mode made at the front of the beam rifle?.. i still don't get it..
i was remember the pilot couldn't come out from the cockpit after the MG ZZ transform and the pilot was trap inside the beam rifle in one of the episode in this series.. pilot stay in beam rifle?.. make sense or logic?..
well.. the complete one is damn nice.. and i can't wait to add some detail and paint it..
the next post will on which area i want to mod.. not much..
stay tune..


2 comments:
hoho ZZ :D gonna detail this up?
as for Keita's ZZ, from what i can see is that he, as usual, totally remodeled the face plate. he remake the eye using pla plate so that it looks smaller and sharper
ZD: yeah.. but not much.. still on planning stage.. i actually study some of the head unit remodeling from HobbyJapan Magazines.. it seems not easy to shape it out..
Post a Comment