
Here we have the part 2. For Seed or Destiny series MG, the building sequence is a bit different from old MG kit especially from UC series ( i mean those MG come after 200X if i'm not wrong). First, it will start with the upper torso, then head unit, follow by arms, legs, waist unit, backpack and weapons. I hate build arms and legs cause i need to build the same thing twice (in MG from UC series, the sequence is a bit different which require me to build the arms and follow by legs first which save the best part at the end).
There are three four things i want to mention about here related on the building process. First will be the nub marks. For this kit, most of the nub marks are easily expose out which its not easy to cover for straight build unless i paint the entire thing or cover with top coat later on. Why? There are many color from its color scheme and its not easy to find the right gundam marker with correct color to cover it.
Second thing will be the special gimmick for most of the MG from Seed and Destiny series, sliding armors. Those armors also can be easily detach from the inner frame for painting purpose without removing some part from the inner frame. This should be one of the good thing but the counter part will not favor for painting if there is no plan for disassemble the inner frame for painting ( paint with slide, paint without slide, one for priming, one for painting).
Third thing, there are lot of detail from the inner frame ( i guess now Bandai applying this concept into armor as well, the MG Duel which come in this month). Good thing is if you want to practice on detailing the inner frame like what Matt Tomzek did on his PG GP01Fb that win the G-shot contest, you can have it in this kit and the only person i know he can did very well on this, Mr.Chang (ngeekhiong) will be the best reference. As for the detail in the armors, that will need some creativity or maybe you can refer to this post from master-killar which i check it recently.
Last thing? the building process isn't that difficult but it also require some focus on "left, right" part especially the legs. Although most of the part from the leg are duplicate to another but some do have different for left and right side (the wing unit as well). Alright, enough for the talk and you can check out the pictures now.


I forgot to take a picture with cockpit hatch open.


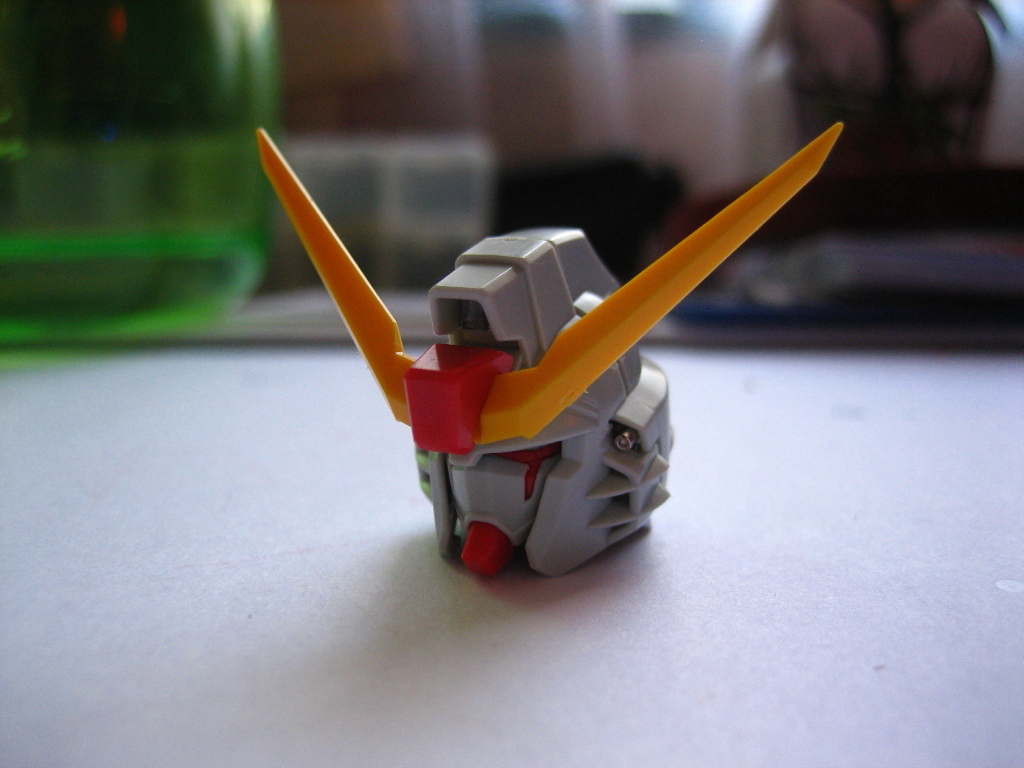
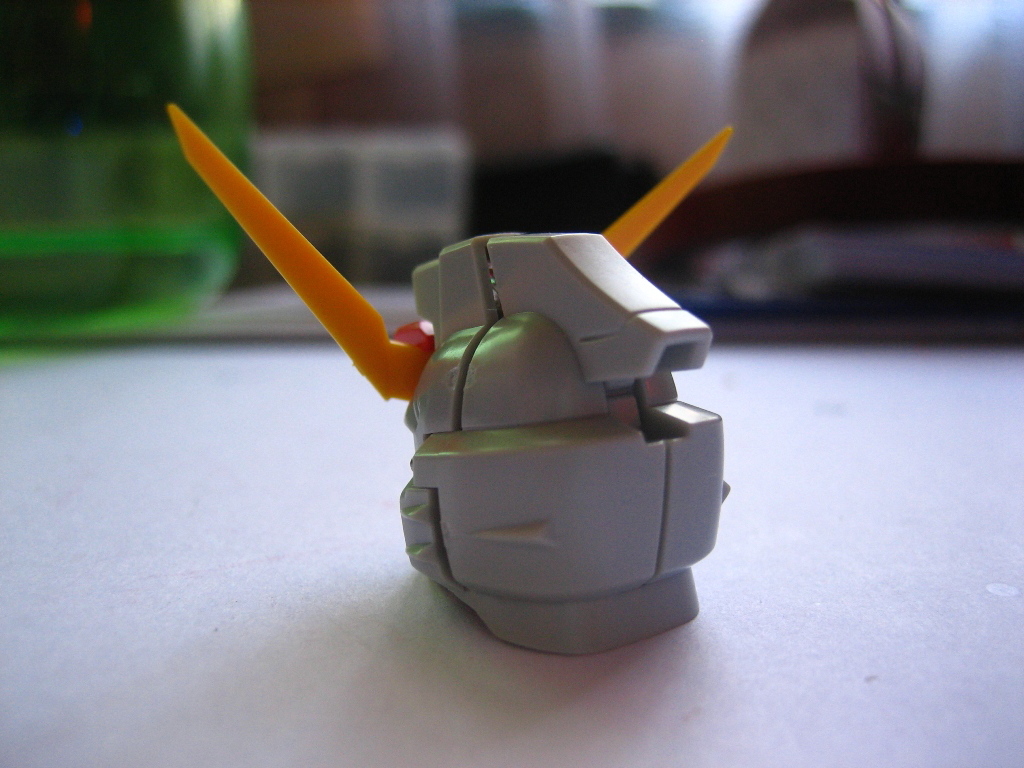
Good thing is the vulcan unit in the head was molded separately and it come in silver chrome and..... most of the nub marks will be hidden in the head unit.


This time, i added some comparison in between the "armor-less" arms and legs.

Palms are come with clip for for weapon, perfect for beam rifle but not for other weapon. Good thing is it come with other manipulators to hold different weapon.


Kneeling pose? should be a problem.


This is the detail of the inner frame i talk about.


Uh-huh, the adjustable peg joint in the waist unit. I actually thing this is one of the stupid gimmick because the joint to hold the adjustment was too weak or weaker compare to the peg joint from the legs.

So, what i did? i glued everything together and forgot about this gimmick. Solid is better.

Something weird thing is the entire inner frame of the waist unit come with two colors which are the dark grey and light gray. There are not much are come with the dark grey color. Well, i think that give us two tone setting for the inner frame if it not going to be paint.


Again, sliding mechanism.


While you think the review for part 2 is over, it ain't over yet. There are still a lot of extra part to enhance this kit ( i mean those parts make it pose or look better).

There are extra manipulators come with this kit.

This pair of manipulator are use to show the Palma Fiocina (palm cannon) and it also can use as the palm for "after throwing Flash-Edge 2 (beam boomerang).

As for this, some people might wondering why it need this manipulator since the original MG palm unit work so well for holding the beam rifle. The answer is, the Arondight (anti-ship sword) was too heavy for the normal arm to hold tightly.

Although this manipulator might help on holding the Arondight but the weight of Arondight is away too heavy for the ball joint of this manipulator to handle (suggested solution will be applying glue on the ball joint to tight the joint and must remember to let the glue dry before connect it to the joint)

First beam part from the left is use for the Arondight, others are use for the Flash Edge 2. Shorter beams are use when the Flash Edge 2 use as boomerang and i think the long beam should be use for the Flash Edge 2 as beam saber.

These are the part to hold the beam boomerang to create "throwing boomerang effects" and the Palma Fiocina cannon effect.

These are the part that hold the wing of light which connect to the wing unit. The application is quite complicated (for me) and it can't very tight too. I rather have those wing of light effect parts comes like what we have from the HG 1/144 version which is more solid (expensive too).

Two 1/x figure included (only for EBM version) which one of them is Kira Yamato and the other is Shin Asuka.


And lastly, this kit include stand as well. Not many MG kit come with stand recently (i guess that explain why some new MG gunpla kit charge lower). Either way, there are advantages and disadvantages.

This is one hell of the important parts for the entire stand (i mean the hook). With that hook, it don't need the "U" shape hook from the regular display stand which connect to the crotch area and might interfere with the peg joint although this kit won't.
So, that's all for the part 2 of MG Destiny EBM version review. Third part will cover articulations, proportion and the usage of those extra parts.
Coming post?.. It's about seven6398.blogspot.com again. Stay tune.
No comments:
Post a Comment